


We made that.
and you can too.
One of my not-so-secret ways to mentally transport to Paris is by nibbling a fresh baguette while on an aimless stroll around the city. For me, a trip to the City of Lights wasn’t complete without taking a bread baking class. There, I learned authentic baguettes can only have four ingredients (flour, salt, yeast, water) and a bakery isn’t legitimate unless everything is made from scratch.
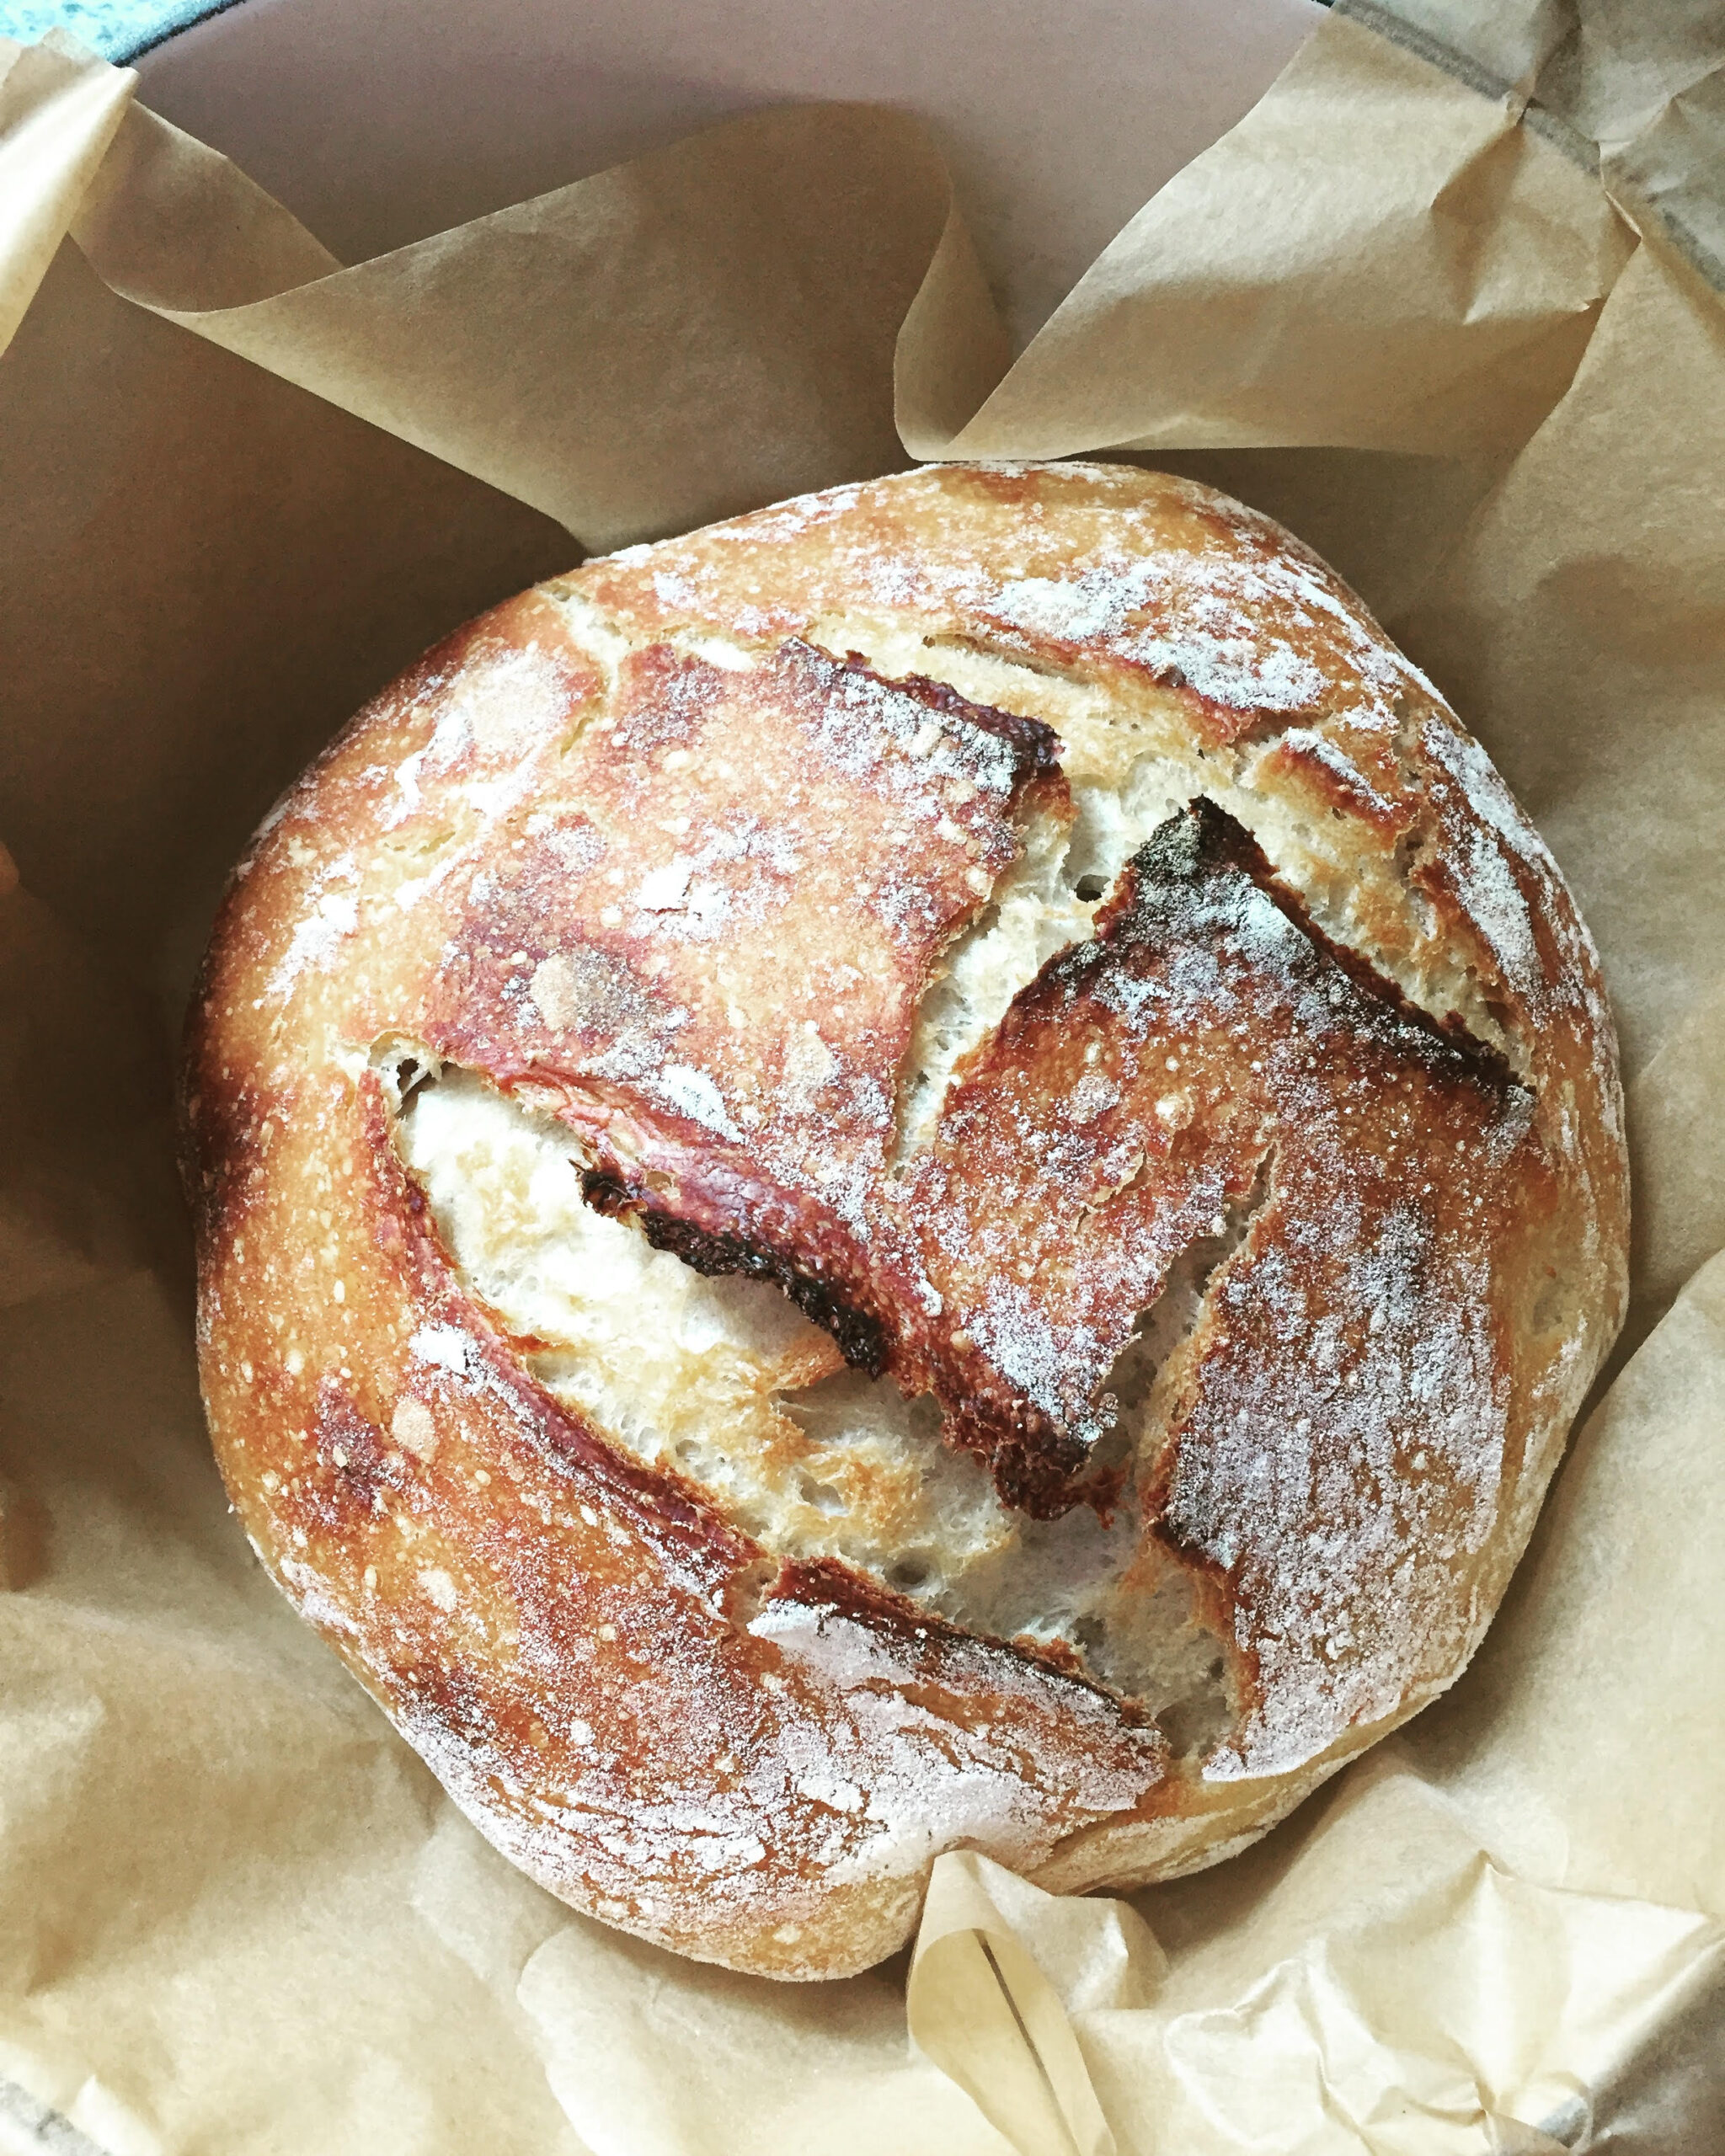
I was never brave enough to tackle bread making at home until a video popped up while I was on a major YouTube binge. The title, No-Knead Bread, immediately piqued my attention. This method, developed by Jim Lahey and shared in the New York Times, uses a heavy-bottom dutch oven to create the coveted crusty exterior. The kind of crust that I thought only bakeries could achieve! After watching probably twenty videos (this one was my favorite), I was confident I could do it. And, so off I went back to Paris from my kitchen. Some nervous pacing and about 18 hours later, I pulled out the loaf you see to the left. Yes, me. Someone who’s had more accidents in the kitchen than edible dinners. That means you can, too.
I’ve bookmarked this activity for when I inevitably have one of those terrible, no-good, very bad days. Because there’s no bad day a fresh slice of bread, slathered with Kerrygold butter and a sprinkling of Maldon sea salt can’t salvage. – Juley Le
No-Knead Dutch Oven Bread
Recipe by Jim Lahey of Sullivan Street Bakery as originally published in The New York Times
Ingredients:
3 c. all purpose flour
1/4 tsp. yeast
2 tsp. salt
1 & half c. warm water
Cornmeal for dusting
Equipment:
Heavy bottom dutch oven
Parchment paper
Directions:
-
In a large bowl combine flour, yeast and salt. Add 1 5/8 cups water, and stir until blended; dough will be shaggy and sticky. Cover bowl with plastic wrap. Let dough rest at least 12 hours, preferably about 18, at warm room temperature, about 70 degrees.
-
Dough is ready when its surface is dotted with bubbles. Lightly flour a work surface and place dough on it; sprinkle it with a little more flour and fold it over on itself once or twice. Cover loosely with plastic wrap and let rest about 15 minutes.
-
Using just enough flour to keep dough from sticking to work surface or to your fingers, gently and quickly shape dough into a ball. Generously coat a cotton towel (not terry cloth) with flour, wheat bran or cornmeal; put dough seam side down on towel and dust with more flour, bran or cornmeal. Cover with another cotton towel and let rise for about 2 hours. When it is ready, dough will be more than double in size and will not readily spring back when poked with a finger.
-
At least a half-hour before dough is ready, heat oven to 450 degrees. Put a 6- to 8-quart heavy covered pot (cast iron, enamel, Pyrex or ceramic) in oven as it heats. When dough is ready, carefully remove pot from oven. Slide your hand under towel and turn dough over into pot, seam side up; it may look like a mess, but that is O.K. Shake pan once or twice if dough is unevenly distributed; it will straighten out as it bakes. Cover with lid and bake 30 minutes, then remove lid and bake another 15 to 30 minutes, until loaf is beautifully browned. Cool on a rack.


Can’t wait to try this! What Dutch oven did you use?
I used this one by Martha Stewart. It’s only $50 from Macy’s!
http://rstyle.me/n/ctegq6brm
I have used this recipe for many years with great success, but you might have forgotten to mention that the water should be just warmer than body temperature. I also only have two oblong pots (Dutch ovens) which are just as good, and speaking of two – I make two loaves and freeze the one seeing that the oven is on!!